Easter Baby Bird Amigurumi
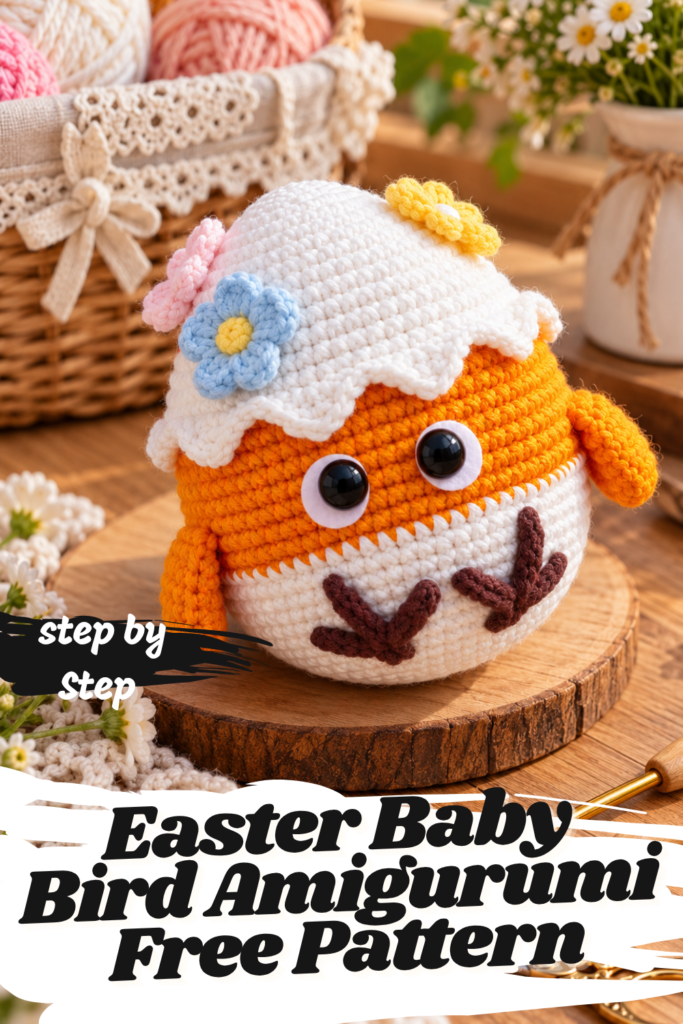
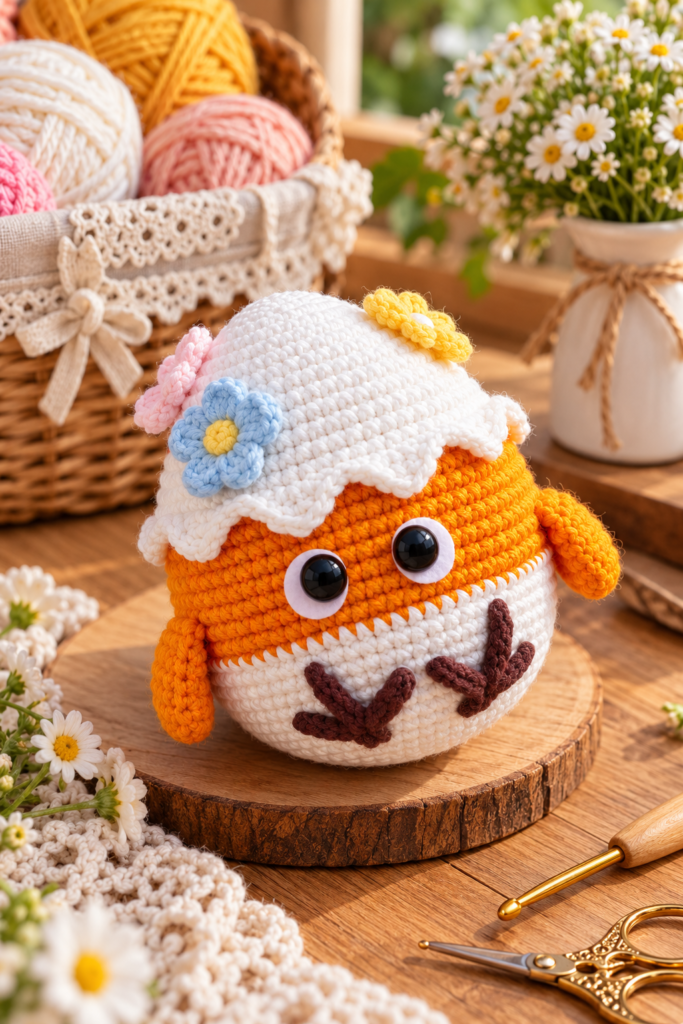
There’s something irresistibly sweet about a baby bird still peeking out of its cracked eggshell — round, a little wobbly, wide-eyed at the world. The Easter Baby Bird Amigurumi, designed by smila_toys, captures that exact moment in yarn: an orange chick nestled inside a scalloped white eggshell “hood,” with tiny stitched wing-tip feet, floppy yellow wings, and three small crocheted flowers tucked along the top of the shell like a little spring crown.
As the designer puts it in the pattern’s own introduction, “the Easter little bird is pretty easy to make,” and with Easter around the corner, it’s the kind of quick, charming project that makes a perfect handmade souvenir or table decoration. Between the single continuous egg-and-body piece, two simple wings, two tiny crocheted paws, and three small flower accents, this pattern comes together with a manageable handful of components rather than a long list of separately shaped pieces.
Below is the complete pattern, reorganized with clear headings for every component, along with the full materials list, abbreviations, and a set of tips and frequently asked questions to guide you through the finishing details.
About This Pattern
Designer: smila_toys
Materials
- Needle
- Thread
- Hook
- Scissors
Abbreviations
| Abbreviation | Meaning |
|---|---|
| MR | Amigurumi magic ring |
| sc | Single crochet |
| inc | Increase |
| dec | Decrease |
| tr | Triple crochet / treble crochet |
| st | Stitch |
| dc | Double crochet |
| hdc | Half double crochet |
| slst | Slip stitch |
| ch | Chain |
| ..in | Make an increase into the same stitch as many times as the number given in front of “inc” (for example, “3inc” or “4inc”) |
| FLO | Crochet into front loops only |
| BLO | Crochet into back loops only |
Crocheting the Egg
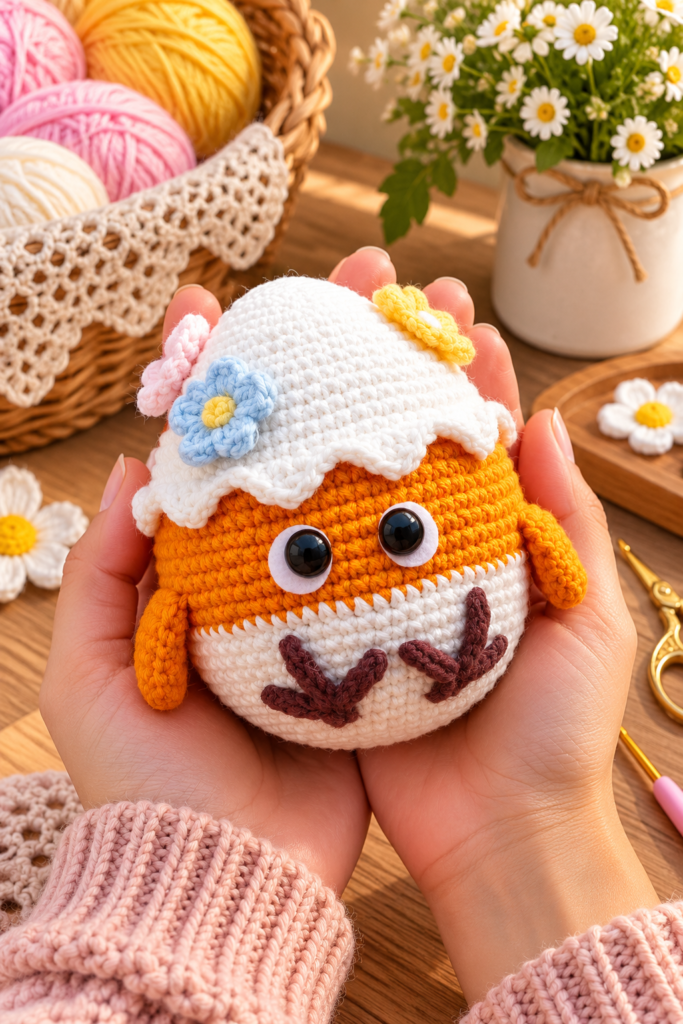
The egg and body are worked as one continuous piece, starting in white for the cracked eggshell “hood,” transitioning to yellow for the bird’s face and body, and finally returning to white for the lower half of the belly. Stuff tightly as you go throughout this entire section, rather than waiting until the piece is nearly closed.
Start with white.
- Rnd 1: 6 sc in MR.
- Rnd 2: 6 inc (12).
- Rnd 3: (1 sc, inc) x6 (18).
- Rnd 4: (2 sc, inc) x6 (24).
- Rnd 5: 24 sc.
- Rnd 6: (3 sc, inc) x6 (30).
- Rnd 7: (4 sc, inc) x6 (36).
- Rnd 8: (5 sc, inc) x6 (42).
- Rnd 9: 42 sc.
- Rnd 10: (6 sc, inc) x6 (48).
- Rnd 11: (7 sc, inc) x6 (54).
- Rnd 12: (8 sc, inc) x6 (60).
- Rnd 13: 60 sc.
- Rnd 14: (9 sc, inc) x6 (66).
- Rnd 15: (10 sc, inc) x6 (72).
- Rnd 16: 72 sc.
Change the yarn to yellow.
- Rnd 17: BLO, 72 sc.
- Rnd 18–24: 72 sc (7 rows).
Change the yarn back to white.
- Rnd 25: 72 sc.
- Rnd 26: (10 sc, dec) x6 (66).
- Rnd 27: 66 sc.
- Rnd 28: (9 sc, dec) x6 (60).
- Rnd 29: 60 sc.
- Rnd 30: (8 sc, dec) x6 (54).
- Rnd 31: 54 sc.
- Rnd 32: (7 sc, dec) x6 (48).
- Rnd 33: 48 sc.
- Rnd 34: (6 sc, dec) x6 (42).
- Rnd 35: (5 sc, dec) x6 (36).
- Rnd 36: (4 sc, dec) x6 (30).
- Rnd 37: (3 sc, dec) x6 (24).
- Rnd 38: (2 sc, dec) x6 (18).
- Rnd 39: (1 sc, dec) x6 (12).
- Rnd 40: 6 dec.
Crocheting the Shell’s Scalloped Edge
Turn back to Row 16 (the turning chain row), and crochet the decorative edge of the eggshell using white yarn: (sc, hdc, 3 dc in 1 loop, hdc, sc, slst) x12. This repeated shell-stitch sequence is what creates the scalloped, cracked-eggshell trim around the bird’s head. To keep this trim from flopping or shifting out of place, you can carefully sew it down along the body once it’s complete.
Crocheting the Wings (2 pieces)
Crochet in yellow.
- Rnd 1: 6 sc in MR.
- Rnd 2: (1 sc, inc) x3 (9).
- Rnd 3: (2 sc, inc) x3 (12).
- Rnd 4: 12 sc.
- Rnd 5: (3 sc, inc) x3 (15).
- Rnd 6: (4 sc, inc) x3 (18).
- Rnd 7: 18 sc.
Fold the piece in half and crochet 9 sc across the fold to close it flat, then fasten the yarn and cut it, leaving a tail for sewing. Sew the two wings on symmetrically, one on each side, positioned between Rounds 22 and 23 of the body.
Crocheting the Paws (2 pieces)
Crochet in brown.
Chain 7. Working with 2 loops: 4 slst, chain 5, 4 slst, chain 5, 4 slst, slip stitch into the 5th loop, then 2 slst across the remaining loops.
This small sequence of chains and slip stitches creates the little forked, foot-like shape seen embroidered at the base of the bird in the reference photos.
Crocheting the Flowers (3 pieces)
- Rnd 1: 5 sc in MR, slst.
- Rnd 2: (in 1 loop: 2 ch, 2 dc, 2 ch, slst) x5.
This creates a small five-petaled flower. Make three in total, in whichever colors you like (the reference photo shows one pink, one pale blue, and one soft yellow), and sew them onto the top of the eggshell as a decorative accent.
Finishing the Face
The eyes are made from 8mm half-beads, glued onto a small 10mm circle of felt before being attached to the face — this gives the bird its glossy, dimensional eyes rather than flat embroidered ones. Position them as shown in the reference photo, near the top of the yellow section just below the eggshell edge.
Tips for Crocheting the Easter Baby Bird
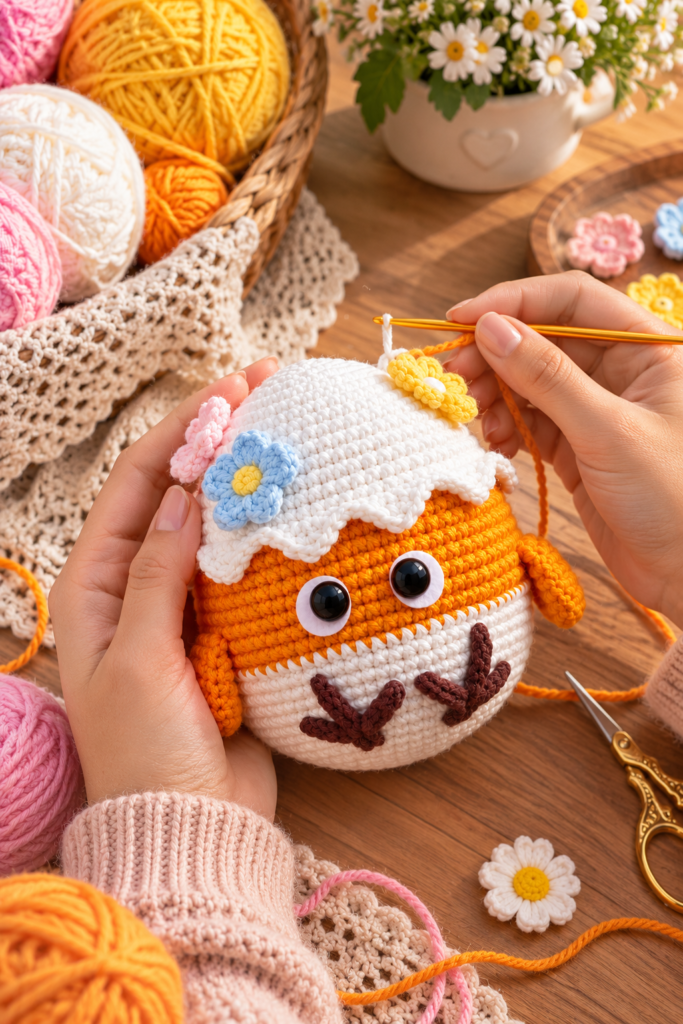
- Stuff tightly and continuously. The pattern specifically notes to stuff tightly throughout the entire egg and body section, rather than adding fill only at the very end — this is what gives the finished piece its firm, rounded egg shape rather than a soft, floppy one.
- Keep track of your color changes across the long egg sequence. With 40 rounds total in the egg and body piece, plus two color changes (white to yellow, then back to white), it helps to note in advance exactly which round each transition falls on before you start, so you’re not caught mid-round.
- Return to the correct row for the shell edge. The scalloped shell trim is specifically worked back into Row 16, the turning chain row, rather than continuing forward from wherever the main body piece ends — double-check you’re inserting your hook into the right round before starting this section.
- Sew down the shell edge if it flares too much. Since the shell stitch pattern naturally creates a slightly ruffled, dimensional edge, the pattern notes you can sew it down carefully if it flops around too much, helping it hold a cleaner shape against the head.
- Pre-assemble the half-bead eyes before gluing. Gluing the 8mm half-bead onto its 10mm felt circle first, then letting that assembly dry completely before attaching it to the bird’s face, will give you a cleaner, more secure finish than trying to glue both layers on at once.
Frequently Asked Questions
Who designed this pattern? The Easter Baby Bird Amigurumi was designed by smila_toys and shared as a free pattern for the Easter season.
Is this pattern beginner-friendly? Yes — the designer specifically describes it as “pretty easy to make” and “an easy amigurumi pattern.” It uses standard amigurumi techniques (magic ring, single crochet, increases, decreases, and front/back loop only) along with a simple shell-stitch edging for the cracked eggshell trim.
How many pieces do I need to crochet in total? You’ll make one continuous egg-and-body piece, two wings, two small crocheted paws, and three flowers — a total of eight components, plus the glued half-bead eyes.
What are the eyes made from? The eyes are 8mm half-beads glued onto small 10mm circles of felt, rather than embroidered or made from standard safety eyes, giving them a glossy, rounded look.
How is the scalloped eggshell edge created? After completing the main egg and body piece, you return to Row 16 (the turning chain row) and work a repeated shell stitch — (sc, hdc, 3 dc in 1 loop, hdc, sc, slst) x12 — using white yarn, which forms the ruffled, cracked-shell trim around the bird’s head.
What are the paws made from, and how are they attached? The paws are small brown pieces made from a short chain worked with slip stitches and additional chains to create a forked, foot-like shape. They’re positioned at the base of the bird as shown in the reference photo.
Where are the wings attached? The two folded, flat wing pieces are sewn on symmetrically, positioned between Rounds 22 and 23 of the body, one on each side.
Can I make the flowers in different colors? Absolutely — the pattern doesn’t specify particular colors for the three flowers, so feel free to match the reference photo’s soft pastel palette (pink, blue, and yellow) or choose your own combination.
A Little Bird Worth Welcoming Every Spring
Between its scalloped eggshell “hood,” tiny forked feet, floppy wings, and a trio of pastel flower accents, this Easter Baby Bird amigurumi manages to feel both whimsical and genuinely well-constructed — the kind of small seasonal project that’s satisfying to make once and then bring back out year after year as part of a growing Easter collection. Whether it ends up nestled in a spring basket or perched on a shelf until next year, this little bird captures exactly the kind of fresh, hopeful charm the season is known for.
For more free amigurumi and crochet patterns like this one, be sure to check out Lovelycraft.com.