Crochet Bunny Henri with Carrot
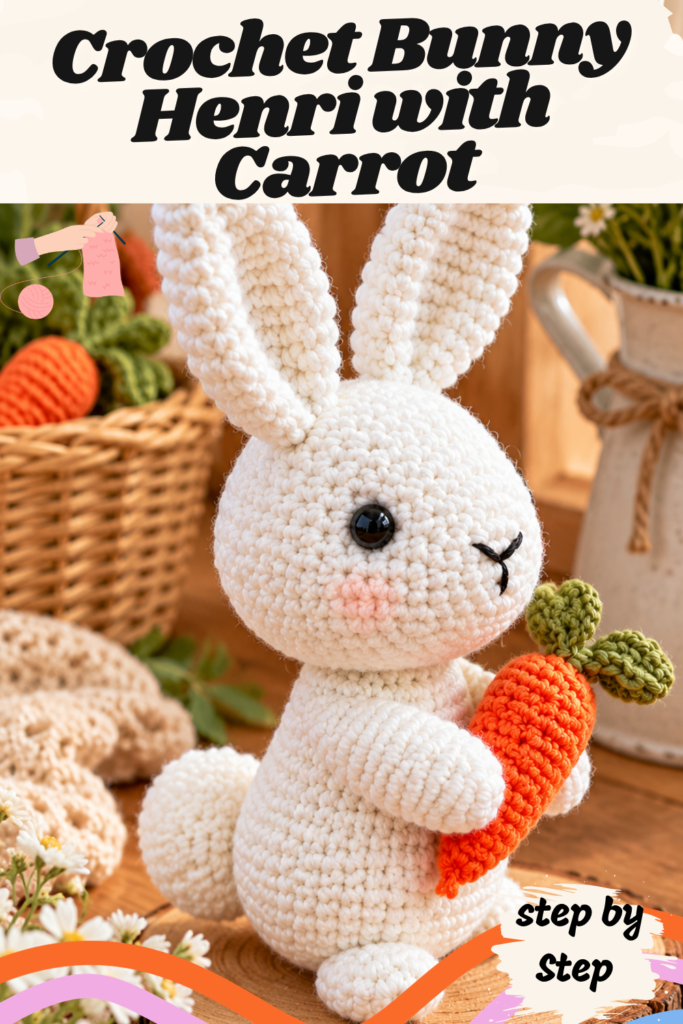
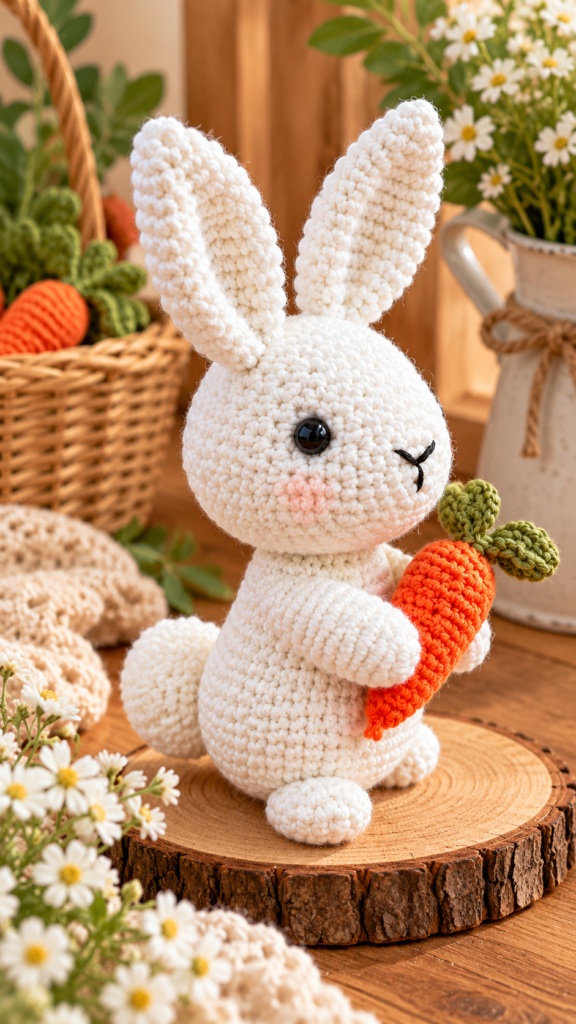
Not every amigurumi project needs to take weeks. Sometimes the best pattern is the one you can start after dinner and finish before bed — and that’s exactly what Crochet Bunny Henri with Carrot, designed by les.mailles.du.rocher, delivers. This little white bunny comes together from a handful of simple, repeated pieces, holding his own tiny crocheted carrot in one paw for good measure.
As the pattern’s introduction puts it, this is “a very easy amigurumi pattern,” and part of what keeps it quick is a clever design choice: “the arms and legs are done in the same way,” so once you’ve made one, you’ve essentially made all four. Add a soft body, a round head with expressive security eyes, a pair of tall ears, a little cottontail, and a small orange carrot accessory, and you’ve got a complete, charming project that doesn’t demand hours of concentration to finish.
Below is the complete pattern, reorganized with clear headings for every component, along with the full materials list, abbreviations, and a set of tips and frequently asked questions to help you along the way.
About This Pattern
Designer: les.mailles.du.rocher
Materials
- Cotton Ricorumi yarn in white, orange, and green
- Crochet hook: 3mm
- Yarn needle
- Fiberfill for stuffing
- Security eyes (5mm or 6mm)
- Black embroidery thread
- Stitch marker
- Scissors
Abbreviations
| Abbreviation | Meaning |
|---|---|
| Rnd | Round |
| MR | Magic ring |
| Ch | Chain |
| Sl st | Slip stitch |
| Sc | Single crochet |
| Inc | Increase |
| Dec | Decrease |
| Hdc | Half double crochet |
| BLO | Back loops only |
| FLO | Front loops only |
| ()* | Repeat till the end of the round |
| [ ] | Total number of stitches in the round |
Crocheting the Body
- Rnd 1: MR, 6 sc [6].
- Rnd 2: (inc)* [12].
- Rnd 3: (1 sc, inc)* [18].
- Rnd 4: (2 sc, inc)* [24].
- Rnd 5: (3 sc, inc)* [30].
- Rnd 6: BLO — (2 sc, inc, 2 sc)* [36].
- Rnd 7–12: 36 sc [36].
- Rnd 13: (dec, 4 sc) x3, dec, 16 sc [32].
- Rnd 14–15: 32 sc [32].
- Rnd 16: (dec, 3 sc) x3, dec, 15 sc [28].
- Rnd 17–18: 28 sc [28].
Stuff the body at this point.
- Rnd 19: (dec, 2 sc) x3, dec, 14 sc [24].
- Rnd 20: 24 sc [24].
- Rnd 21: (2 sc, dec)* [18].
Fasten off, leaving a tail for sewing the body to the head.
Crocheting the Head
- Rnd 1: MR, 6 sc [6].
- Rnd 2: (inc)* [12].
- Rnd 3: (1 sc, inc)* [18].
- Rnd 4: 18 sc [18].
- Rnd 5: (2 sc, inc)* [24].
- Rnd 6: 24 sc [24].
- Rnd 7: (3 sc, inc)* [30].
- Rnd 8: 30 sc [30].
- Rnd 9: (2 sc, inc, 2 sc)* [36].
- Rnd 10–16: 36 sc [36].
Insert the safety eyes between Rounds 9 and 10, spaced approximately 16 stitches apart.
- Rnd 17: (dec, 4 sc)* [30].
- Rnd 18: (3 sc, dec)* [24].
- Rnd 19: (2 sc, dec)* [18].
Stuff the head at this point.
- Rnd 20: (dec, 1 sc)* [12].
- Rnd 21: (dec)* [6].
Fasten off and close.
Crocheting the Ears (Make 2)
- Rnd 1: MR, 4 sc [4].
- Rnd 2: (sc, inc)* [6].
- Rnd 3: (1 sc, inc)* [9].
- Rnd 4: 9 sc [9].
- Rnd 5: (2 sc, inc)* [12].
- Rnd 6: (3 sc, inc)* [15].
- Rnd 7: 15 sc [15].
- Rnd 8: (4 sc, inc)* [18].
- Rnd 9–13: 18 sc [18].
- Rnd 14: (4 sc, dec)* [15].
Fasten off, leaving a tail for sewing. Fold each ear in half and sew both sides together to give it a natural, slightly curved shape before attaching it to the head.
Crocheting the Arms and Legs (Make 4)
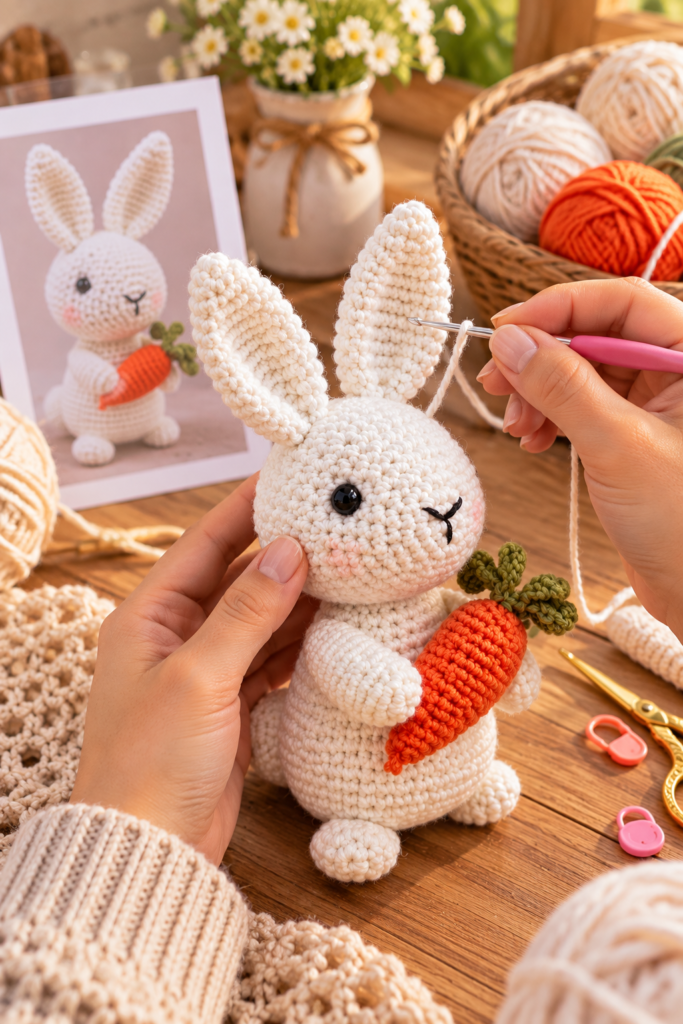
This is the piece that saves the most time in the whole pattern — arms and legs are worked from the exact same instructions, so once you’re comfortable with the sequence, you can repeat it four times without needing to reference a separate set of directions.
- Rnd 1: MR, 6 sc [6].
- Rnd 2: (inc)* [12].
- Rnd 3–4: 12 sc [12].
- Rnd 5: (2 sc, dec)* [9].
- Rnd 6: 9 sc [9].
- Rnd 7: (1 sc, dec)* [6].
Do not stuff these pieces. Fasten off and close, then bring the thread through to the inside of the piece and sew (or glue) it to the body.
Crocheting the Tail
- Rnd 1: MR, 6 sc [6].
- Rnd 2: (inc)* [12].
- Rnd 3: (1 sc, inc)* [18].
- Rnd 4: (2 sc, inc)* [24].
- Rnd 5–9: 24 sc [24].
- Rnd 10: (2 sc, dec)* [18].
Fasten off, leaving a tail for sewing. Stuff the tail and sew it to the back of the body.
Crocheting the Carrot
If you’d like a smaller carrot, switch down to a 2.5mm hook for this piece. Start in orange.
- Rnd 1: MR, 6 sc [6].
- Rnd 2: 6 sc [6].
- Rnd 3: (1 sc, inc)* [9].
- Rnd 4: 9 sc [9].
- Rnd 5: (2 sc, inc)* [12].
- Rnd 6–10: 12 sc [12].
- Rnd 11: BLO — (dec)* [6].
Change color to green, and crochet into the front loops of the next round — the remaining back loops from Round 11 will be used later to close the hole at the top of the carrot.
- Rnd 12 (FLO): [(chain 6, crochet along the chain: 2 sc, 3 slst), 1 slst in the next stitch] x6.
This round creates six small leafy fronds radiating out from the top of the carrot, one for each repeat of the chain-and-crochet sequence.
Fasten off and hide the yarn tail. Cut the orange yarn, leaving a tail long enough to close the hole using the back loops of the last orange round (Round 11) that were left unused earlier. You can bring this closing thread out through the bottom of the carrot to hide the finishing knot.
Tips for Crocheting Bunny Henri
- Take advantage of the shared arm and leg pattern. Since all four limbs use identical instructions, it can help to work through Round 1 on all four pieces first, then Round 2 on all four, and so on, rather than completing one limb entirely before starting the next — this “assembly line” approach can make the repetition feel faster.
- Don’t stuff the arms and legs. The pattern specifically notes not to stuff these four pieces, which keeps them soft and a little floppy compared to the firmer, stuffed body, head, and tail — this is an easy detail to overlook out of habit if you’re used to stuffing every amigurumi piece.
- Insert the security eyes before finishing the head. Placing them between Rounds 9 and 10, spaced about 16 stitches apart, while the head is still open enough to access from the inside, makes attaching the backing washers far easier than trying to add them once the head is closed.
- Save the back loops on the carrot for later. Round 11 of the carrot specifically works in the back loops only, leaving the front loops free for the green leafy top in Round 12. Don’t accidentally crochet through both loops here, or you’ll lose the stitches needed to close the carrot’s base at the end.
- Fold and sew the ears before attaching them. The instruction to fold each ear in half and sew the sides together (rather than attaching it flat) is what gives Henri’s ears their realistic, slightly cupped shape — skipping this step will result in flatter, less dimensional ears.
Frequently Asked Questions
Who designed this pattern? Crochet Bunny Henri with Carrot was designed by les.mailles.du.rocher and shared as a free amigurumi pattern.
What makes this pattern faster than other amigurumi bunnies? The biggest time-saver is that the arms and legs are worked from the exact same set of instructions, meaning you only need to learn one limb pattern and repeat it four times, rather than following separate directions for arms versus legs.
What size hook do I need? The main pattern uses a 3mm hook. If you’d like a smaller carrot accessory specifically, the pattern suggests switching to a 2.5mm hook for that piece only.
Do I need to stuff every piece? No. The body, head, and tail are all stuffed as noted in their instructions, but the arms and legs are specifically left unstuffed, giving them a softer, more relaxed drape once attached to the body.
How are the safety eyes placed? They’re inserted between Rounds 9 and 10 of the head, spaced approximately 16 stitches apart, while the head still has enough of an opening to attach the backing washers from the inside.
What yarn is used, and can I substitute something else? The pattern calls for Cotton Ricorumi in white, orange, and green. Any yarn that matches the gauge implied by a 3mm hook (a lightweight cotton or cotton-blend yarn typically used for amigurumi) should work as a substitute, though your finished size may vary slightly.
How is the carrot’s green top made? After finishing the orange body of the carrot and switching to green, Round 12 is worked into the front loops only, creating six small chained-and-crocheted leaf fronds. The back loops from the round before are saved and used afterward to cinch the top of the carrot closed.
Is this pattern suitable for someone new to amigurumi? Yes — the designer describes it as very easy, and the repeated limb pattern in particular makes it a gentle way to build confidence with basic amigurumi shaping (magic ring, increases, decreases) without having to learn several different pieces from scratch.
A Bunny Worth Making Again and Again
Between the shared arm-and-leg shortcut, the simple round body and head, and a sweet little carrot accessory tucked into one paw, Bunny Henri is the kind of amigurumi pattern that’s just as satisfying to make once as it is to make a dozen times over — for an Easter basket, a baby shower gift, or simply because a small white bunny with a carrot is hard to resist. With its quick construction and forgiving techniques, this is a pattern you’ll likely find yourself reaching for again.
For more free amigurumi and crochet patterns like this one, be sure to check out Lovelycraft.com.