Stripy Sleeves Crochet Arm Warmers
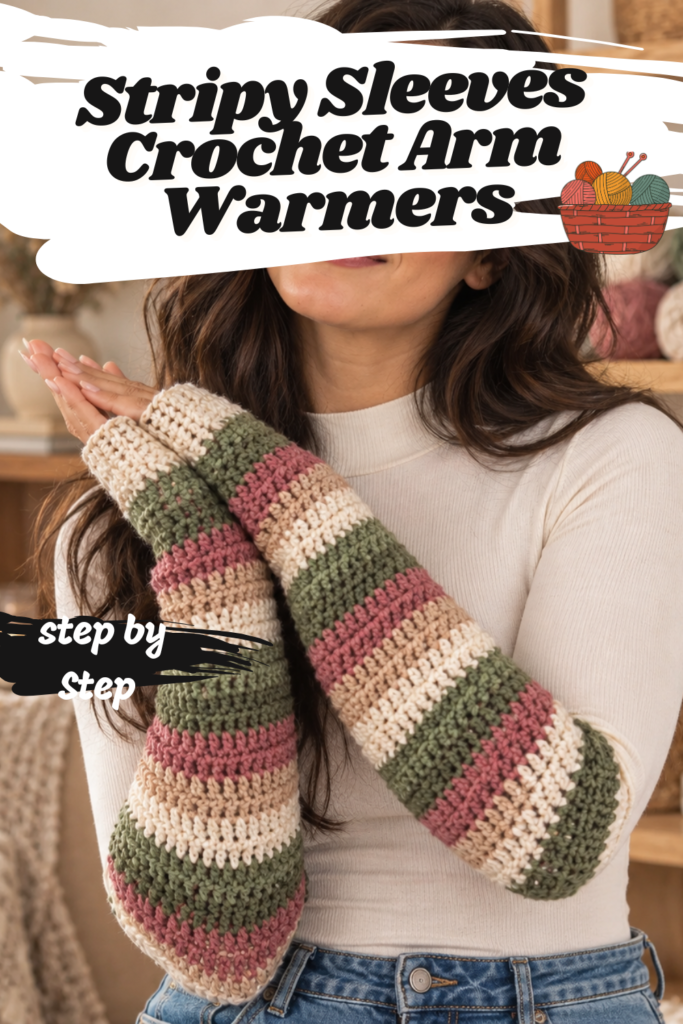
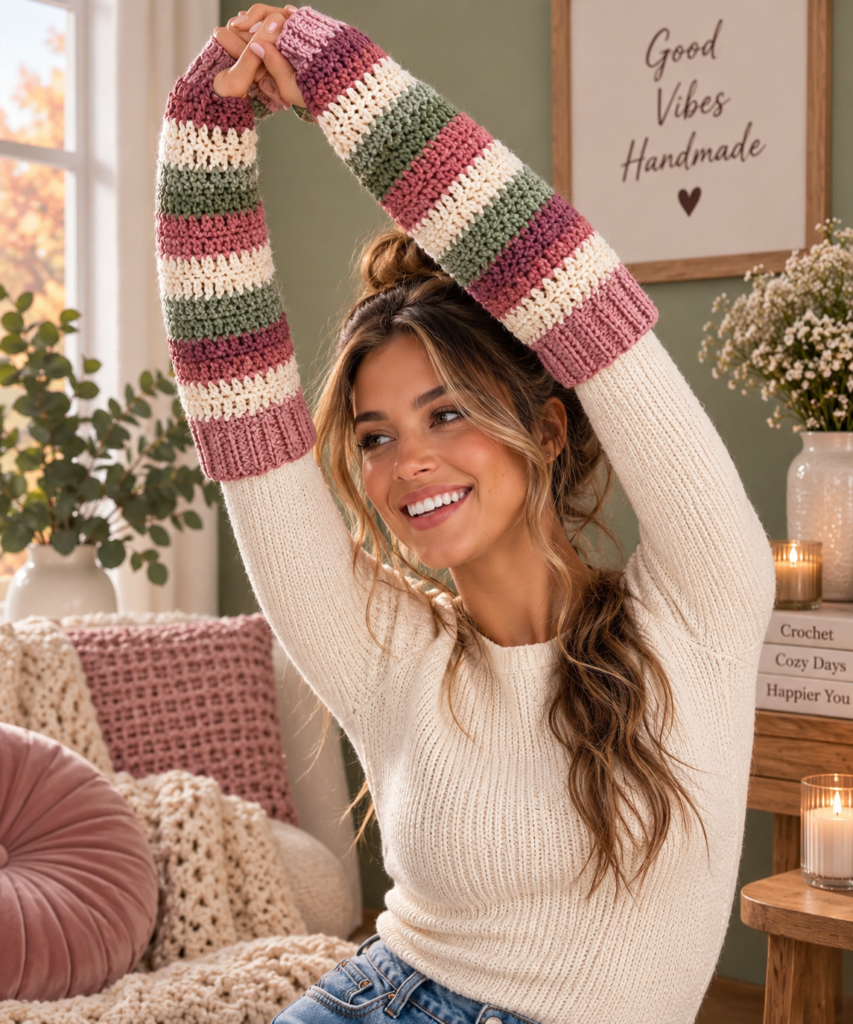
There’s a special category of crochet project that feels like getting a reward without doing extra work: self-striping yarn. You crochet in a single, straightforward stitch pattern, and the yarn itself handles all the color-blending, delivering a genuinely striped finished piece without a single color change on your part. That’s exactly what makes these Stripy Sleeves Crochet Arm Warmers so satisfying — a ribbed cuff at both the wrist and the elbow, a tall column of double crochet in between, and a bold, ever-shifting stripe pattern running the whole length, courtesy of a self-striping “Hyper Violet” yarn that does the heavy lifting.
Made with Red Heart’s All in One Granny Square yarn, this pattern is rated easy, and it genuinely is — the entire arm is built from just two stitches (single crochet for the ribbing, double crochet for the body), with the visual drama coming entirely from the yarn itself. If you can chain, single crochet, and double crochet, you’re fully equipped to make a pair.
Let’s get these arms wrapped up in stripes.
Why These Arm Warmers Are Worth Making
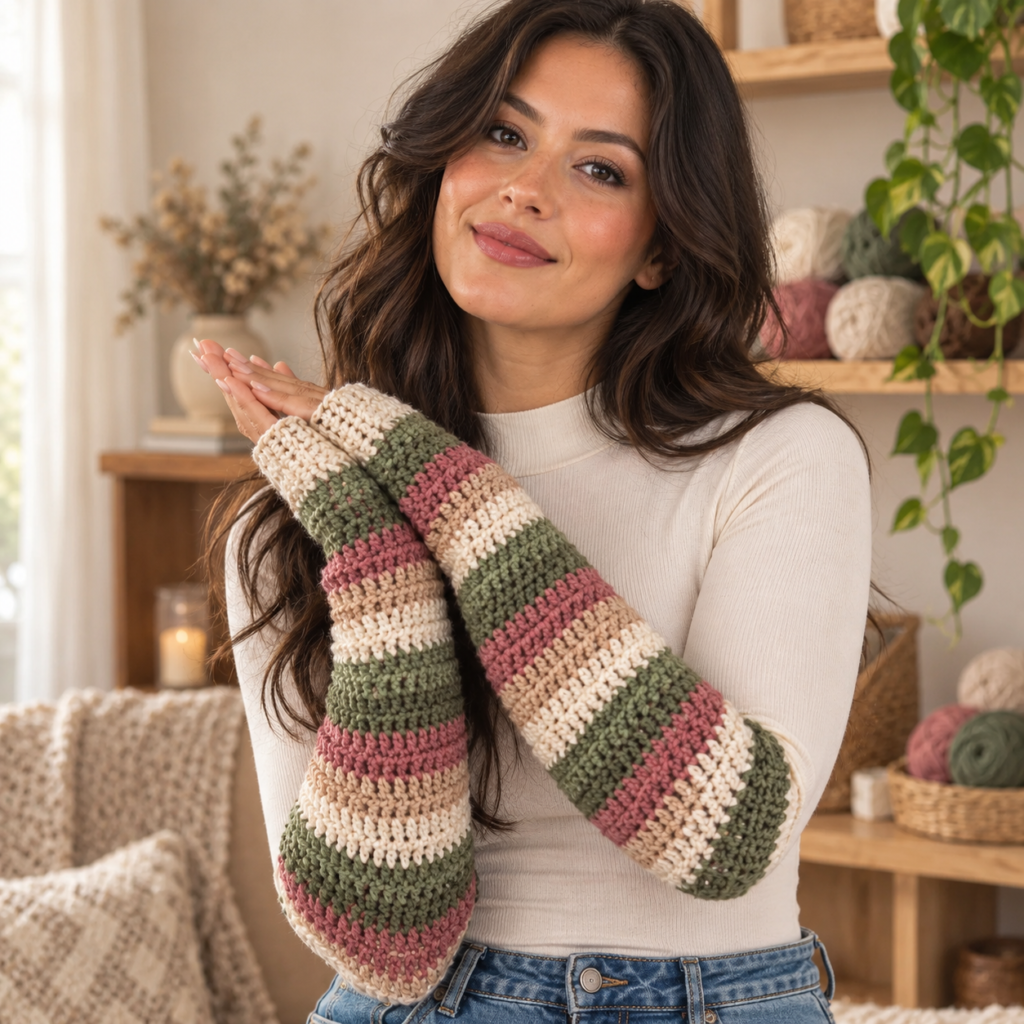
What makes this project so appealing is the ratio of effort to payoff. Self-striping yarns like Hyper Violet are pre-dyed in long color repeats along the skein, so as you crochet steadily through a single ball, the colors shift and change entirely on their own, in a sequence the yarn manufacturer has already designed to look great together. There’s no juggling multiple skeins, no counting rows to plan a stripe sequence, and no weaving in a dozen extra ends from color changes. You just crochet, and the stripes happen.
The construction is also cleverly efficient. Both the bottom ribbing (at the wrist) and the top ribbing (at the elbow) are worked as separate strips first, using a classic back-loop-only technique that creates that stretchy, traditional ribbed texture. The top ribbing is even joined directly onto the arm as you work it, rather than being sewn on afterward, which saves you a finishing step and gives a seamless transition between the ribbed band and the striped body.
Choosing Your Size
This pattern comes in four sizes: XS/S, M, L, and XL. Instructions are written for size S, with any changes needed for the larger sizes shown in parentheses throughout, in the format S (M-L-XL). When only one number appears, it applies to all sizes. It’s worth circling every number that pertains to your size as you go, since the pattern weaves all four sizes together throughout the instructions.
Finished Measurements
Upper Arm Circumference:
- S: 9½” (24 cm)
- M: 10″ (25.5 cm)
- L: 10½” (26.5 cm)
- XL: 12″ (30.5 cm)
Finished Length:
- S: 14½” (37 cm)
- M: 15½” (39.5 cm)
- L: 16½” (42 cm)
- XL: 18″ (46 cm)
Gathering Your Supplies
Yarn
Red Heart® All in One™ Granny Square™ (8.8 oz/250 g; 417 yds/381 m):
- Hyper Violet (2022) — 1 ball, with the yardage needed varying slightly by size: 206/188 yds/m for S, 232/212 yds/m for M, and 259/237 yds/m for L (the pattern lists these three sizes; for XL, plan on similarly scaling your yardage upward and purchasing an extra ball if you’re close to the edge of what one ball provides).
Hook
- U.S. size J/10 (6 mm) Susan Bates® Silvalume® crochet hook, or whatever size you need to obtain gauge
Additional Supplies
- Susan Bates® yarn needle
- A tape measure
Gauge
12 double crochets and 6 rows = 4″ (10 cm). Since this yarn is quite substantial and the finished piece needs to fit snugly around your arm, it’s worth taking the time to check your gauge and swatch before diving into the full project.
A Helpful Note on the Yarn Itself
This pattern specifically uses a self-striping yarn, meaning the color changes happen naturally as you crochet through the ball, exactly where the manufacturer dyed them to appear. There’s no special technique required on your part to create the stripes — simply crochet as instructed, and the colors will shift on their own.
Crocheting the Arm Warmer (Make 2 Alike)
Bottom Ribbing
Chain 7 (8-9-10).
1st row: Work 1 single crochet in the second chain from the hook, then 1 single crochet in each remaining chain to the end. Turn — 6 (7-8-9) sc.
2nd row: Chain 1, and working in the back loops only, work 1 single crochet in each stitch to the end of the row. Turn.
3rd through 18th (22nd-24th-26th) rows: Repeat the 2nd row. Do not fasten off.
This long strip of back-loop-only single crochet is what creates the ribbing’s stretchy, accordion-like texture, and its length (adjusted by size) becomes the wrist circumference once the piece is seamed together at finishing.
Crocheting the Arm
1st row: Turn your work sideways so you’re now working along the long edge of the ribbing strip rather than across its width. Chain 1, then work 18 (22-24-26) single crochets evenly spaced along the side of the Bottom Ribbing. Turn.
A quick construction note: from here forward, the chain-3 worked at the beginning of a row counts as your first double crochet.
2nd row: Chain 3, then work 1 double crochet in each stitch to the end of the row. Turn.
3rd row: Chain 3, then work 1 double crochet into your first double crochet (the same space as your beginning chain-3). Work 1 double crochet in each double crochet across to the last stitch, then work 2 double crochets into that last stitch. Turn — 20 (24-26-28) dc.
Repeat the 2nd and 3rd rows 4 (3-3-4) more times — you’ll reach 28 (30-32-36) dc. This section gradually widens the arm from the narrower wrist opening toward the fuller upper arm.
Continuing the Straight Body
Repeat the 2nd row (plain double crochet, with no further increases) until your piece measures 13 (13½-14-15)” [33 (34-35.5-38) cm] from the lower edge of the Bottom Ribbing, making sure to end on a wrong-side row. Do not fasten off.
Crocheting the Top Ribbing
This section joins directly onto the top of the arm as you work it, rather than being made separately and sewn on afterward.
1st row (Right Side): Chain 7 (8-9-10). Work 1 single crochet in the second chain from the hook, then 1 single crochet in each remaining chain to the end of the chain. Slip stitch into the first stitch of the Arm. Do not turn — 6 (7-8-9) sc.
2nd row: Slip stitch into the next stitch of the Arm. Turn. Chain 1, skip the last slip stitch you just made, and working in the back loops only, work 1 single crochet in each stitch across the Top Ribbing to the end of the row. Turn.
3rd row: Chain 1, and working in the back loops only, work 1 single crochet in each stitch across the Top Ribbing to the end of the row. Slip stitch into the next stitch of the Arm. Do not turn.
Repeat the 2nd and 3rd rows across the entire top edge of the Arm, ending with a right-side row.
Fasten off, leaving a 20″ (51 cm) tail for seaming.
This alternating pattern — one row of ribbing worked back and forth, followed by a slip stitch anchoring it to the next stitch of the arm’s top edge — is exactly what fuses the ribbing seamlessly to the arm as a single continuous piece, rather than requiring a separate sewing step later.
Finishing Your Arm Warmers
Using the long yarn tail you left, sew the side edges of the Arm Warmer together, leaving a 1″ (2.5 cm) thumb opening at the wrist, positioned just above the Bottom Ribbing. Weave in any remaining ends.
Repeat this entire pattern once more to make a matching second Arm Warmer.
Frequently Asked Questions
What exactly is self-striping yarn, and do I need to do anything special to work with it? Self-striping yarn is dyed in long, pre-planned color sections along the length of the skein, so as you crochet steadily through the ball, the colors change naturally on their own without any intervention from you. Simply crochet the pattern as written, and the stripes will appear in the sequence the manufacturer designed.
Why does the top ribbing get joined row-by-row instead of crocheted separately like the bottom ribbing? Joining the top ribbing directly to the arm as you work each row (via that slip stitch worked into the next arm stitch) eliminates the need for a separate sewing step later, and it also ensures the ribbing distributes evenly around the entire top edge without any pinching or bunching that can happen with a sewn-on band.
How do I know exactly where to leave the thumb opening when seaming? The pattern specifies leaving a 1″ (2.5 cm) opening at the wrist, positioned just above the bottom ribbing. As you sew the side seam starting from the bottom, simply stop your seam about 1″ up from the ribbing’s edge, leave that small gap unsewn, then continue seaming above it.
Can I substitute a different yarn if I don’t have Red Heart All in One Granny Square on hand? You could, though keep in mind the visual appeal of this project relies heavily on that self-striping color effect. If you substitute a solid-color yarn, you’ll still get a well-constructed arm warmer, just without the automatic stripe pattern; if you’d like to preserve the striping effect, look for another self-striping yarn in a similar weight that achieves the same gauge.
Why does the arm shaping increase gradually rather than jumping straight to full width? Working several rows of paired increases (Rows 2 and 3, repeated) tapers the arm warmer gradually from the narrower wrist opening up toward the fuller upper arm circumference, which is what gives the finished piece its natural, comfortable fit rather than a straight, tube-like shape.
How long should I expect the whole project to take, given it’s rated easy? Since the entire piece is worked in continuous, repeated rows with no complicated shaping beyond a handful of increase rows, most confident beginners can complete one arm warmer in a few sittings, with the bulk of the time going into the long straight double crochet sections of the arm itself.
Is there a risk that the two arm warmers won’t match if the yarn’s stripe pattern doesn’t repeat identically? Since you’re working from a single continuous ball, the exact placement of each stripe along your two arm warmers may vary slightly, depending on where in the color sequence you happen to start each piece. This is a normal characteristic of self-striping yarn projects, and most people find the slight variation between the two pieces adds to their handmade charm rather than detracting from it.
Ready to Crochet Something Effortlessly Colorful
There’s a particular kind of magic in watching stripes emerge from a single ball of yarn without lifting a finger to plan them. These arm warmers deliver exactly that kind of quietly impressive payoff — simple, repetitive stitchwork that results in a genuinely eye-catching, boldly striped finished accessory.
Grab your hook, and let’s get your arms wrapped up in color.