Crochet Baby Booties
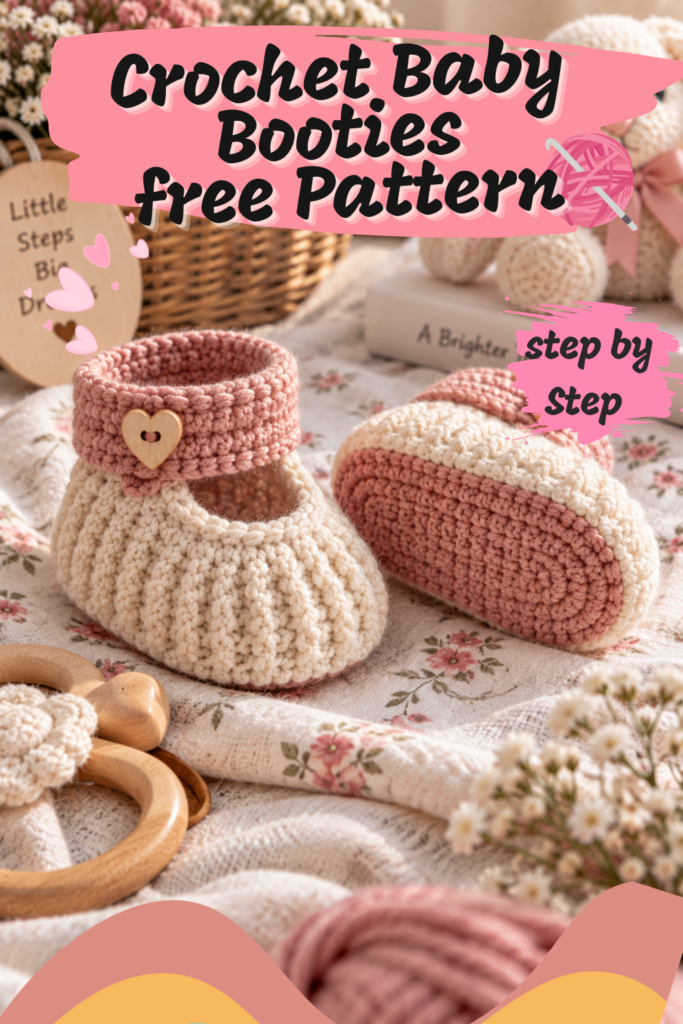
There’s something irresistible about a pair of tiny handmade booties — they’re one of those baby gifts that manages to be both genuinely useful and completely adorable at the same time. This pattern delivers exactly that: a soft, ribbed-textured bootie with a subtly cabled cuff, finished off with a delicate strap and button closure across the top of the foot. It’s the kind of project that looks far more sophisticated than its construction actually requires, thanks to a lovely raised front-post and back-post stitch detail worked right into the cuff.
Made with Bernat Baby yarn, this pattern is rated easy, and while there’s a specific textured stitch technique involved (front post and back post double crochet, which we’ll walk through carefully), the overall shaping is straightforward increase-and-decrease work that most confident beginners will find approachable.
Let’s get these little booties started.
Why These Booties Are Worth Making
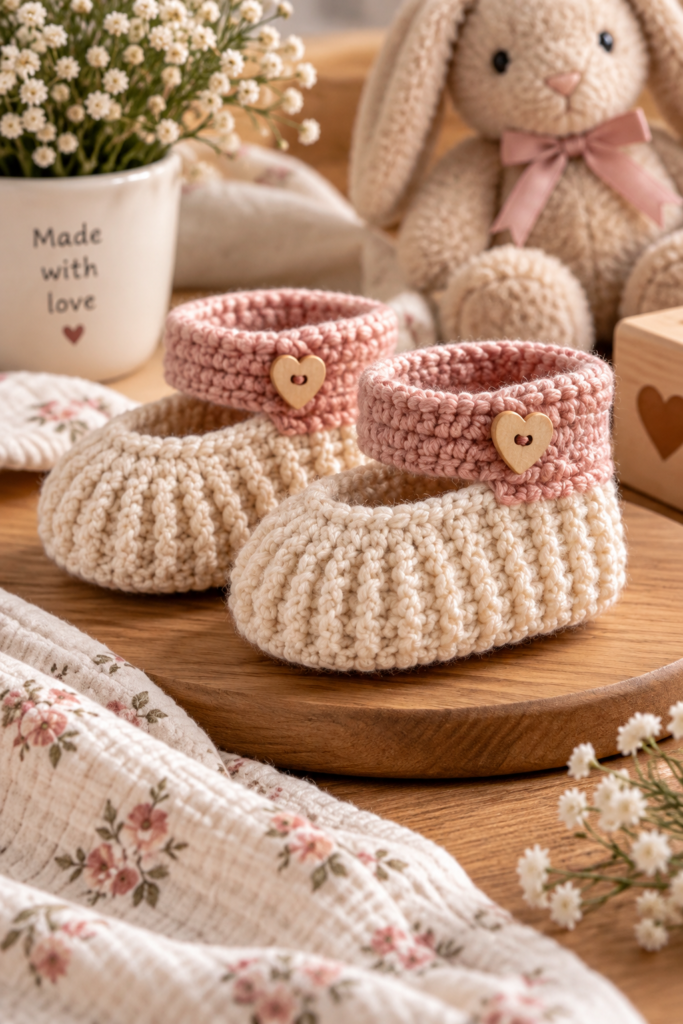
What sets this pattern apart from a plain baby bootie is that raised, cable-like texture running around the cuff. Rather than simple ribbing, the cuff alternates between front-post and back-post double crochet stitches, which creates a subtle woven ridge effect that catches the light beautifully and gives the whole bootie a more polished, boutique-quality look. Combined with the delicate button-strap closure across the instep, these feel like the kind of booties you’d find in a specialty baby shop rather than something whipped up in an evening.
They’re also a wonderfully quick knit — sturdy enough to actually stay on a baby’s foot thanks to that secure strap closure, but simple enough in construction that a single pair comes together in just a sitting or two.
Choosing Your Size
This pattern is written for two sizes: 3/6 months and 6/12 months. Instructions are given for the smaller size first, with any changes needed for the larger size shown in parentheses throughout.
Gathering Your Supplies
Yarn
Bernat® Baby® (50 g/1.75 oz; 175 m/191 yds):
- 1 ball is all you’ll need for either size
Hook
- 3.25 mm (US D/3) crochet hook, or whatever size you need to obtain gauge
Additional Supplies
- 2 buttons
Gauge
22 single crochets and 24 rows = 4″ (10 cm). As always, check your gauge before diving in — with baby items, getting the sizing right really matters for both comfort and that satisfying snug fit.
A Quick Construction Note
Throughout this pattern, the chain-2 worked at the beginning of a row does not count as a half double crochet. Keep this in mind as you count your stitches through the cuff section, since it’s an easy detail to overlook.
Crocheting the Sole and Foot
Chain 14 (22).
1st row (Right Side): Work 2 single crochets into the second chain from the hook, then 1 single crochet in each of the next 3 (7) chains. Work 2 single crochets into each of the next 2 chains. Work 1 single crochet in the next chain (and place a stitch marker on this stitch — you’ll need to find it again in the next row). Work 2 single crochets into each of the next 2 chains, then 1 single crochet in each of the next 3 (7) chains, finishing with 2 single crochets in the last chain. Turn — 19 (27) sc.
This shaping, with increases clustered at both rounded ends of the chain and a single marked stitch at the center of one end, is what builds the oval sole shape with a slightly pointed toe.
2nd row: Chain 1, then work 2 single crochets into your first stitch. Single crochet in each stitch across to 2 stitches before your marked stitch. Work 2 single crochets into each of those next 2 stitches, then 1 single crochet into the marked stitch itself. Work 2 single crochets into each of the next 2 stitches, then single crochet in each remaining stitch to the last stitch, finishing with 2 single crochets in that last stitch. Turn — 25 (33) sts.
Repeat this same row 3 more times, continuing to increase symmetrically around the toe and marked point — you’ll reach 43 (51) sts.
Building the Sides
6th row: Chain 2, then work 1 half double crochet in each single crochet across the row. Turn.
This row transitions your stitch height from single crochet up to half double crochet, setting you up for the textured cuff work ahead.
Working the Textured Cuff
This section is where the bootie gets its signature woven, cabled look, built from alternating front-post and back-post double crochet stitches.
7th row: Chain 2, then work 1 half double crochet in your first stitch. From there, *yarn over hook and draw up a loop around the post of the next stitch, working at the front of your piece and inserting your hook from right to left. [Yarn over and draw through 2 loops on the hook] twice — this completes a front-post double crochet (dcfp). Follow with 1 half double crochet in the next stitch; repeat from * to the end of the row. Turn.
8th row: Chain 2, then work 1 half double crochet in your first stitch. From there, *yarn over hook and draw up a loop around the post of the next stitch, this time working at the back of your piece and inserting your hook from right to left. [Yarn over and draw through 2 loops on the hook] twice — this completes a back-post double crochet (dcbp). Follow with 1 half double crochet in the next stitch; repeat from * to the end of the row. Turn.
Repeat these last 2 rows (the 7th and 8th) once more, giving you two full repeats of the front-post/back-post alternation. This is exactly what builds that subtle woven texture running around the cuff — the front-post stitches pop forward while the back-post stitches recede, creating visible ridges that catch light differently depending on the angle.
Shaping the Top of the Foot
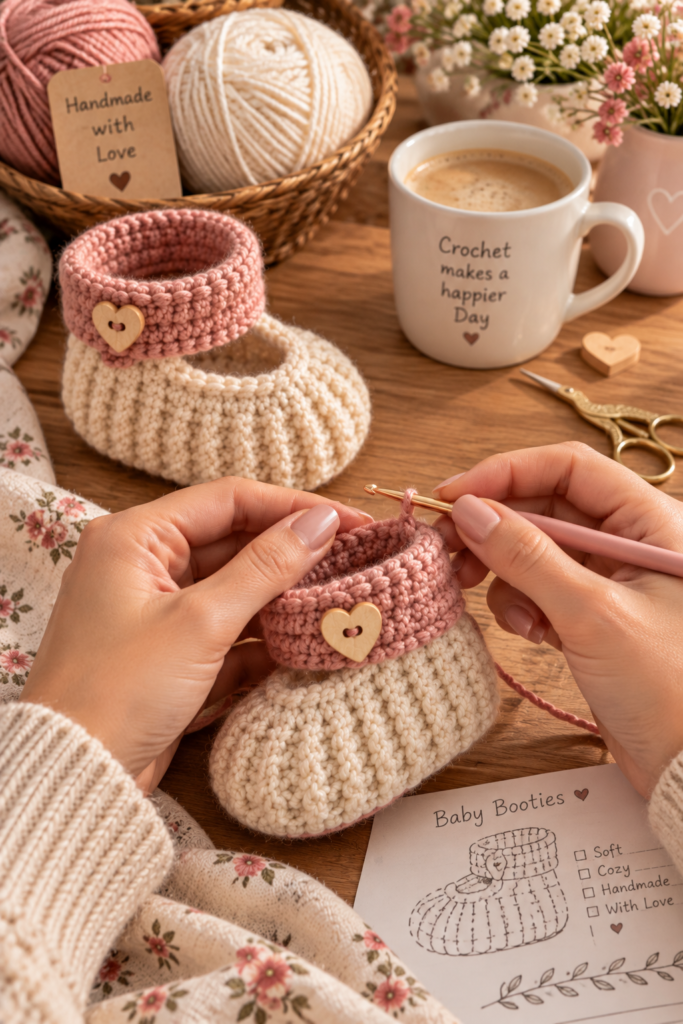
Next row (Right Side): Chain 2. Work (1 single crochet in the next stitch, then a dcfp around the following stitch) 5 (7) times. Follow with (skip the next stitch, dcfp around the following stitch) 12 times. Then work (1 single crochet in the next stitch, dcfp around the following stitch) 4 (6) times, finishing with 1 single crochet in the last stitch. Turn — 31 (39) sts.
That center section of skipped stitches paired with front-post double crochets is what begins narrowing the opening at the top of the foot, shaping the space where the strap will eventually close over the instep.
Closing the Toe
Next row (Right Side): Chain 1, then work 1 single crochet in each of the first 9 (13) stitches. From here, work the following sequence 3 times: [yarn over hook and draw up a loop around the post of the next stitch at the back of your work, inserting your hook from right to left. Yarn over and draw through 2 loops on the hook, twice total. Yarn over one final time and draw through all the loops remaining on your hook] — this completes a dcbptog (a back-post double crochet decrease, worked as one combined stitch). Follow with a single dcbp worked around the next stitch. Repeat from * to * once more. Finish with 1 single crochet in each of the last 9 (13) stitches. Fasten off.
This clever combination of clustered decreases at the center, framed by plain single crochets on either side, is what pulls the top of the bootie closed into its final rounded toe shape.
Crocheting the Strap (Make 2)
Chain 33 (40).
1st row: Work 1 single crochet in the second chain from the hook, then 1 single crochet in each remaining chain to the end. Turn.
2nd row: Chain 1, then work 1 single crochet in your first stitch. Chain 2, skip the next 2 stitches, then single crochet in each remaining stitch to the end of the row. Turn. That chain-2 space you just created becomes the buttonhole.
3rd row: Chain 1, then work 1 single crochet in each stitch across the row, working 2 single crochets into the chain-2 space when you reach it. Fasten off.
Repeat this entire strap sequence once more, so you have 2 matching straps total, one for each bootie.
Finishing Your Booties
Sew the back seam of each bootie closed, then sew the sole seam as well, bringing the flat piece into its proper three-dimensional slipper shape.
Sew a strap to each bootie, referencing your photo for the correct placement across the top of the foot.
Finally, sew a button onto each bootie to correspond with the buttonhole on its strap, giving you a secure, adjustable closure that will help these little booties actually stay put on tiny, wiggly feet.
Frequently Asked Questions
What exactly is the difference between front-post and back-post double crochet? Both stitches wrap around the “post” (the vertical body) of a stitch from the row below rather than into its top loops, but the direction you approach that post from determines the effect. Working from the front pushes the resulting stitch forward, creating a raised ridge, while working from the back pulls it behind the fabric, creating a receding ridge. Alternating the two is what produces that woven, textured cuff.
I’m having trouble telling front-post from back-post as I work — any tips? A helpful way to check yourself: for a front-post stitch, your hook should approach the post of the stitch below from the right side of your work, passing in front of the fabric. For a back-post stitch, your hook passes behind the fabric instead, approaching from the same direction but staying on the wrong side. If your texture looks flat rather than raised after a row or two, double-check you haven’t mixed the two up.
Why does the pattern use half double crochet as a “base” stitch alongside all the post stitches? The plain half double crochet stitches worked between each post stitch give the fabric some structural stability and a consistent row height, while the post stitches themselves provide all the textural interest. Without those plain stitches in between, the fabric would likely pucker or distort unevenly.
How do I know the buttonhole strap will actually fit my chosen buttons? The chain-2 space created in the strap’s 2nd row is a fairly standard buttonhole size for small baby-appropriate buttons. If your chosen buttons run larger than typical, you may want to test the fit with a swatch before committing, and adjust the chain length slightly if needed.
Can I make these booties in a different yarn if I don’t have Bernat Baby on hand? You can, as long as your substitute yarn achieves the same gauge (22 single crochets and 24 rows over 4″). Since these are for a baby, look for a soft, machine-washable yarn specifically marketed for baby items, both for the gentle hand-feel against delicate skin and for easy laundry care.
Is the textured cuff section significantly harder than the rest of the bootie? It’s the one part of this pattern that requires genuine attention, since front-post and back-post stitches take a bit more coordination than standard stitches worked into top loops. That said, the pattern only asks for two repeats of the alternating sequence, which makes it a manageable introduction to post stitches even if you haven’t tried the technique before.
How do I make sure both booties end up as a matching pair rather than mirror images? Since the pattern is symmetric in its shaping (increases distributed evenly around both the toe and the marked center stitch), both booties worked from the same instructions will naturally match. Just be consistent about where you position the strap and button on each one during finishing, referencing your photo so both feet end up mirrored correctly rather than identical.
Ready to Crochet Something Sweet
There’s a reason handmade baby booties remain such a beloved gift — they’re small enough to finish quickly, but the care and detail packed into every stitch is unmistakable the moment someone picks them up. With that woven cuff texture and delicate button strap, this pair is bound to become a treasured keepsake long after tiny feet have outgrown them.
Grab your hook, and let’s get these little booties on their way.